


By Vanessa Matthews
2021 Edition
Keeping your bong or water pipe clean is of utmost importance, for several reasons. First off, it’s healthier! Did you know that it only takes a few short hours for harmful bacteria to grow? Dirty bong water that sits around begins to develop biofilm and toxins that eventually form into mold. YUCK! Those who keep the same bong water for days, or even weeks on end, may want to consider a more regular cleaning schedule for their pieces. On top of the hygiene and health reasons, it’s just way, way more enjoyable. Most of us have had the displeasure of smoking from old, gunked-up water - It tastes downright rank, as well as being hot and harsh on the throat and lungs. However, a hit from water that’s fresh and clean is cooled-down and full of fresh cannabis flavor. You tell me which one you’d want after a long day.
How often should you clean your water pipe?
When it comes to the frequency of cleanings, it depends on your frequency of use! While there is no exact science, it’s generally recommended that heavy smokers clean their piece approximately every two days. For casual users who only smoke every once in a blue moon, it is optimal to clean their piece after every use. For example: If you smoke a bowl, then don’t smoke until four days later, the water has had ample time to begin developing harmful bacteria.
Indicators of a Dirty Water Pipe
Aside from dictating your cleaning schedule by the amount of days, there are a few indicators that tell us a bong needs to be cleaned. Let’s be real… life gets busy, and every one of us won’t be deep-cleaning our piece every two days.
Both taste and smell are overall reliable ways to dictate whether your bong’s in need of a cleaning or not. An important part of the experience of consuming cannabis is the flavor of your bud! Most of us love experiencing the variety in flavors and aromas such as berry, mint, pine, and citrus. You can’t detect those flavors too well when smoking from dingy water! If your hits are beginning to taste not-so-fresh, this is a good indication that cleaning is required. This is similar to gauging by smell: If the odor surpasses a light amount of weed or ash, this is a reliable indication that your water is no longer fresh. Hence, this water won’t effectively filter or cool down your rips.
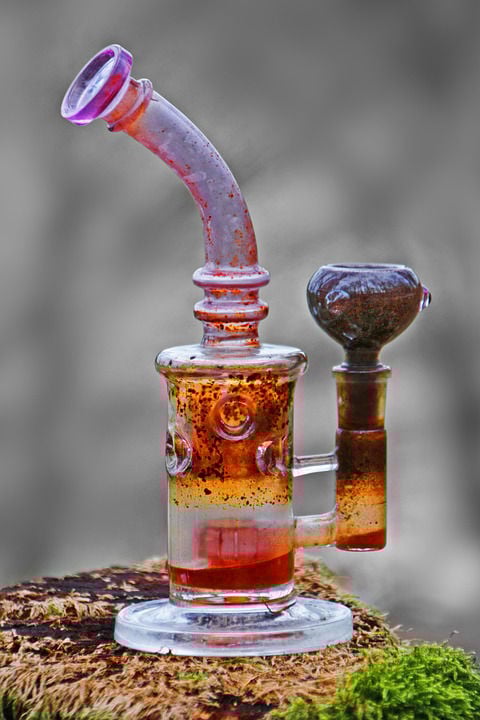
The appearance of the inside of the pipe, as well as the water itself can be a dead giveaway if a cleaning’s overdue. Yes, a little ash or weed in your water doesn’t hurt anyone. However, a few appearance-based indicators would be: An excess amount of debris, cloudy water, or dark build-up on the sides of the pipe.
How to Clean Your Water Pipe
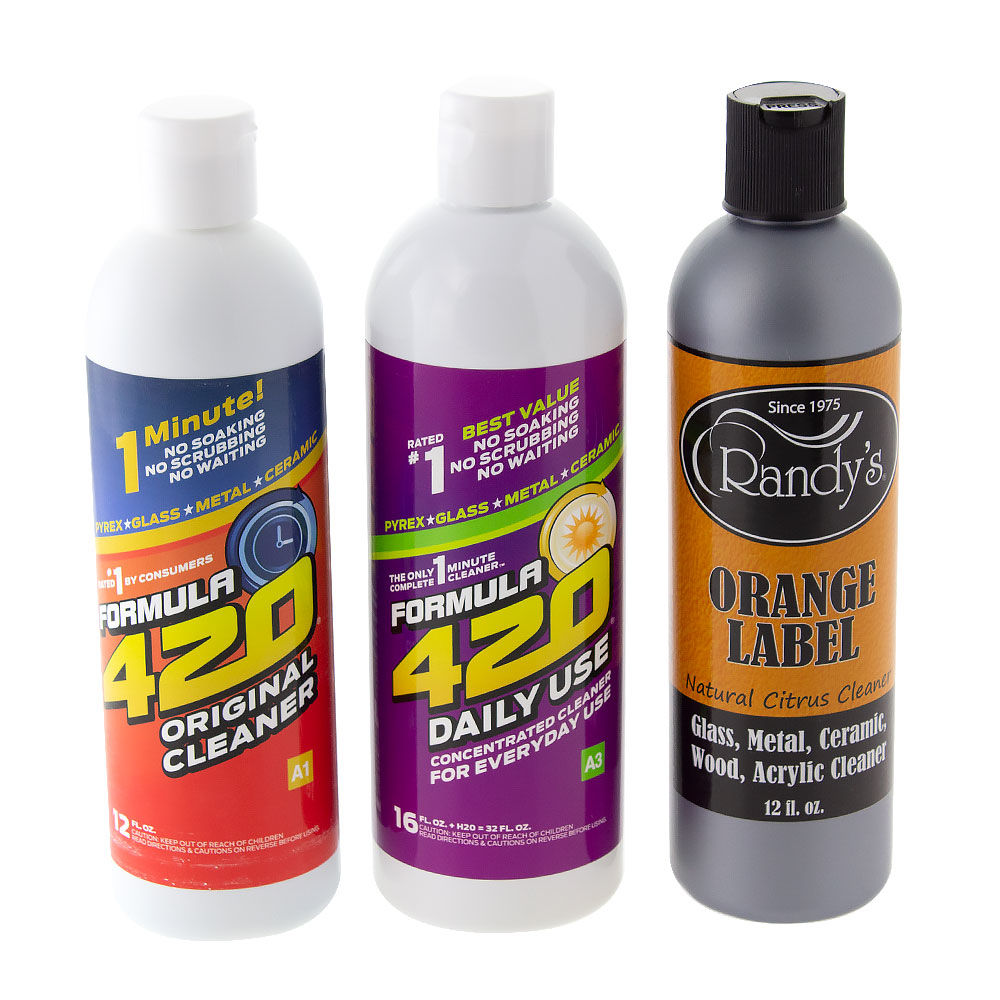
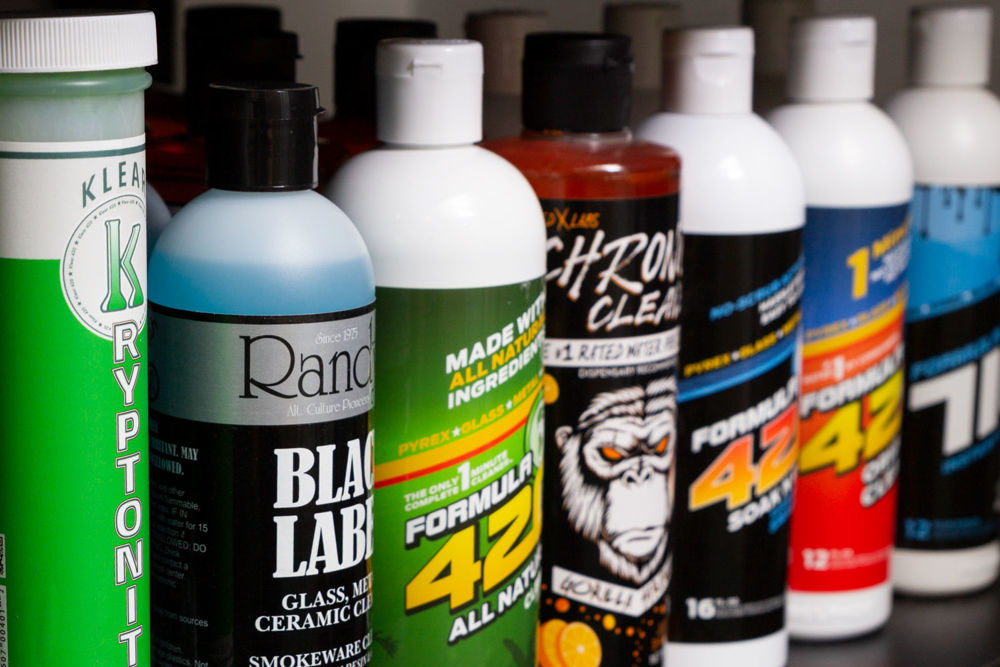
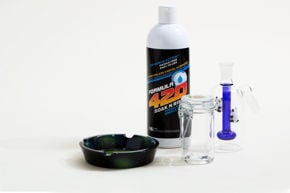
• Step 1: Gather supplies & Prep cleaning solution (If needed). No matter what your preferred cleaner is, you’ve got to get everything in order before getting started! There are two main options for cleaning solutions. The simplest, and often most reliable, is a specially-formulated pipe cleaner such as Formula 420 or Klear Kryptonite. These are highly recommended! However, if you want to go the cheaper route, or simply only have access to a grocery store or drugstore, the trusty alcohol and salt solution won’t let you down. Be sure the Isopropyl alcohol is 91%-99% concentration, and that the salt is a coarsely-ground variety like Epsom. The coarseness is important, because it is the abrasive element that “scrubs” away the junk while the alcohol dissolves and disinfects.
In addition to this, you'll need something to cover those openings while you shake your piece. Sure, you can try to cover with your hands and cause a huge mess, but this method isn’t efficient… at all. Plus, most cleaners shouldn’t come in contact with skin, so avoid this method at all costs. Either get bong caps/plugs, or saran wrap with rubber bands can do the trick beautifully. To prepare for the possibility of needing to detail-clean stubborn areas, gather cotton swabs or cotton balls.
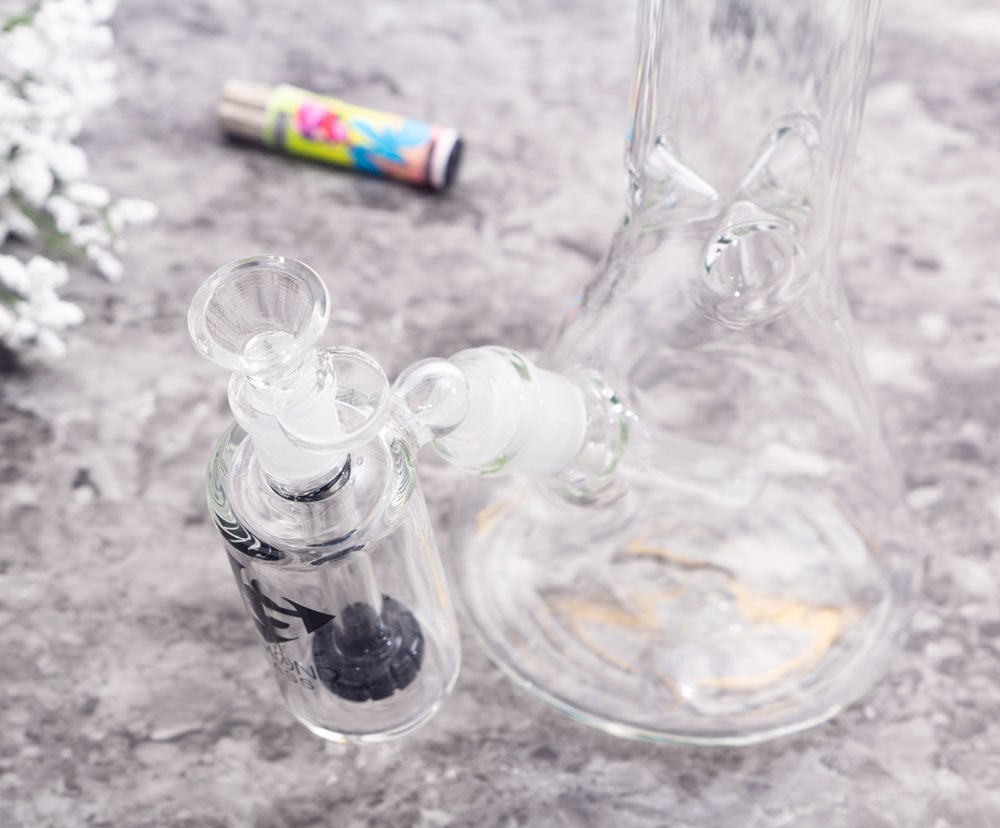
• Step 2: Take the pipe apart and rinse. Before adding in any cleaner, be sure to remove any attachments such as the downstem, bowl, or dab nail. Dump out the old water, and rinse out as much excess grime as possible with hot water.
• Step 3: Place attachments into a separate vessel to soak. With small items like bowls and stems, you can’t fill and shake these. Insert them into a small bowl or plastic baggie; Basically, whatever requires the least amount of liquid to submerge them fully. Depending on the strength of your cleaner and thickness of buildup, allow them to soak for 4 hours to overnight. These won’t require any elbow grease until possible detailing later. Now, let’s get on to the main part!
• Step 4: Fill the water pipe with cleaner. Carefully fill the pipe with cleaner into the mouthpiece or joint. There’s no need to fill it up excessively! Simply add in just enough so all the sides will be thoroughly coated while shaking. If it’s a multi-chambered water pipe, add cleaner through both the joint and mouthpiece, so there’s an ample amount of cleaner in each chamber
• Step 5: Cover all openings. Like we touched on earlier, it’s a MUST to tightly cover each opening with a tight seal before shaking. If you have silicone bong caps/plugs, secure the appropriate sizes on the mouthpiece and joint. If you are going the DIY route, double-layer pieces of plastic wrap, and secure tightly over the openings with a rubber band. Before you shake, do a gentle test-tilt on each opening to ensure it’s a tight enough seal and liquid won’t go all over the place.
• Step 6: Shake, shake, shake! Firmly gripping the water pipe with both hands on the top and bottom, vigorously shake the cleaner solution throughout the piece. I repeat: Grim FIRMLY. We don’t want a tragic accident here! The amount of time will vary based on cleaner type and level of dirtiness, but generally, the longer the better. The shaking motion erodes away all of that stubborn, stuck-on gunk on the walls of your beloved piece.
• Step 7: Dump dirty water & Detail stubborn areas, After you’re satisfied with the cleanliness of the glass, you’re ready to dump out that nastiness! Remove the coverings from the openings over the sink, and dump out the liquid. If there’s any stubborn grime leftover inside, use the residual cleaner inside to scrub away with a cotton swab if it can be reached.
• Step 8: Rinse water pipe thoroughly. You don’t want ANY residue to remain in your piece once you smoke it again, so fill with fresh hot water, swirl, and dump multiple times until it’s completely sparkling clean. To be extra-certain you’ve got a thorough rinse, it’s a good idea to seal the openings once again to shake with fresh water. To know when you’ve completed the rinsing process, base this off of appearance and smell. If the smell is mostly undetectable, you’re set! .
• Step 9: Finish off the attachments. Once the attachments have soaked for the proper length of time, it’s time to get those sparkly, too! Dump out the soaking liquid, and scrub off any remaining gunk with a cotton swab or cotton ball if needed. Rinse everything thoroughly with warm water, just as you did with the pipe. .
• Step 10: Allow to dry. All there’s left to do now is to let your good-as-new water pipe dry! Either air dry them with time, or go ahead and do it manually with a clean rag. There you have it, a beautifully-cleaned water pipe that’s ready to be smoked out of! The difference of smoking from a clean bong versus a dirty one is night-and-day.